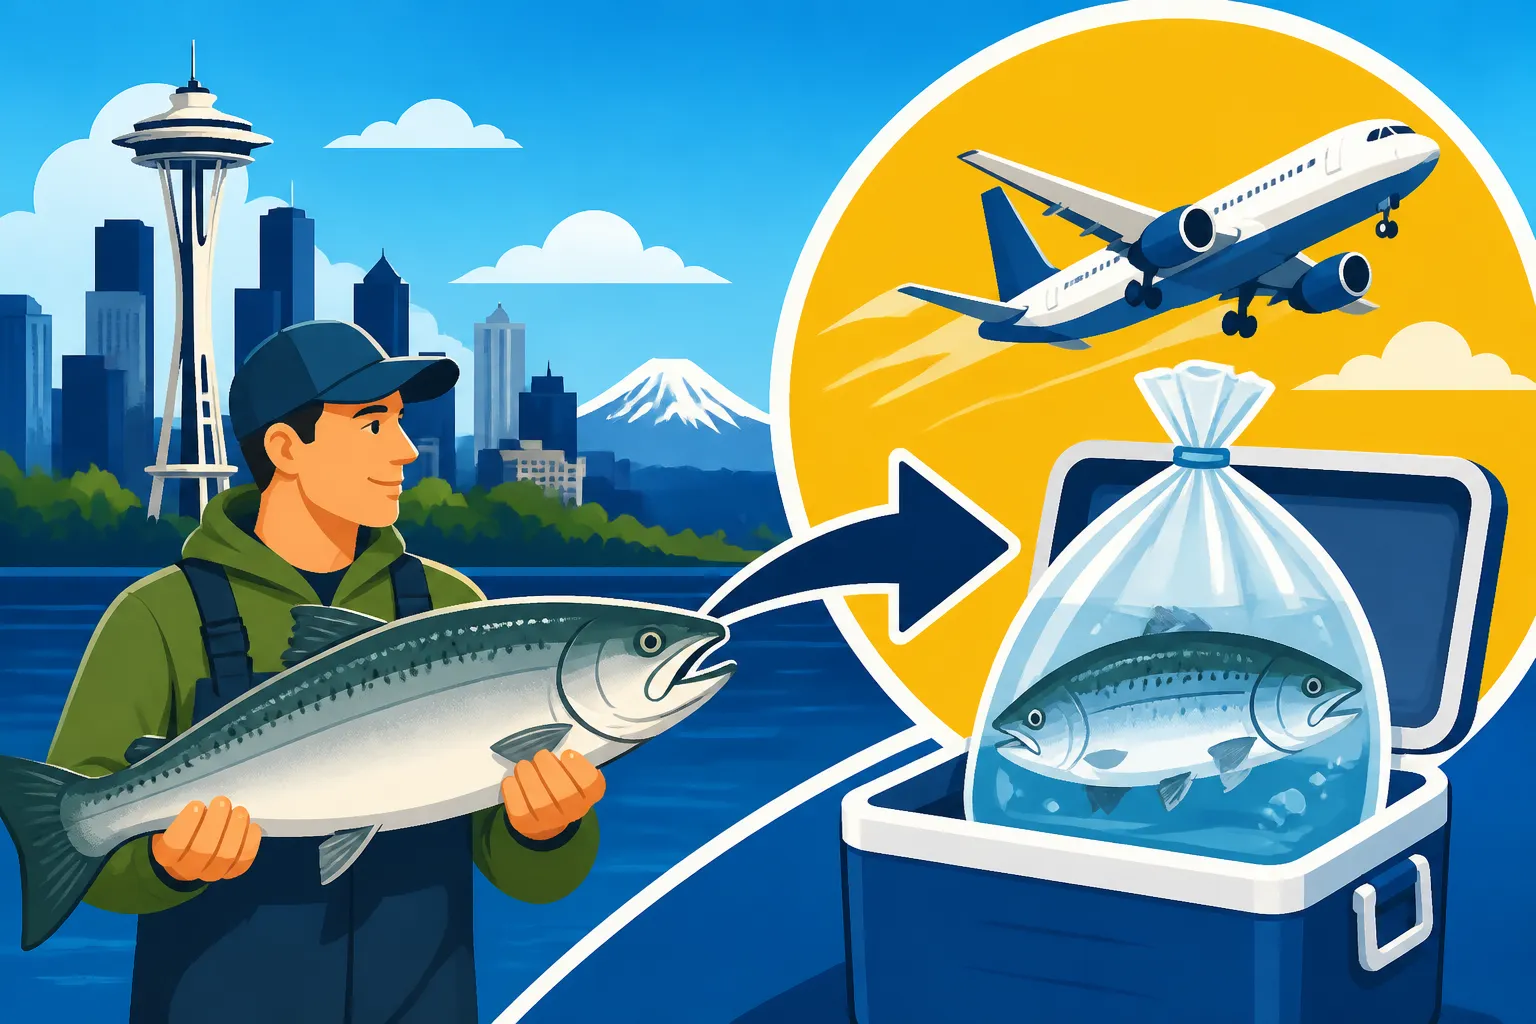
Can You Fly Home With Fish From Seattle?
You've just wrapped up an incredible fishing adventure in Washington, perhaps landing some prized Chinook salmon in Puget Sound, fighting a tenacious steelhead on the Olympic Peninsula, or hauling in Dungeness crab. Now, with your cooler full of fresh bounty, a familiar and daunting question pops up: how do you get all this delicious fish home on an airplane from Seattle-Tacoma International Airport (SEA) without it spoiling, leaking, or running afoul of airline rules? It's a common dilemma, causing many anglers to fret over the logistics. This comprehensive guide is designed to ease those worries, walking you through every step of flying home with your prized catch from Seattle, ensuring it arrives at your destination just as fresh as when you caught it.
Navigating Airline and TSA Regulations for Your Catch
Before you even think about packaging your fish, it's absolutely crucial to understand the labyrinth of rules set by both the airlines and the Transportation Security Administration (TSA). These aren't just suggestions; they are strict guidelines that, if ignored, can lead to your precious catch being confiscated or, at the very least, a major headache at the airport. You want your fish to be a memory, not a cautionary tale.
Airline Policies on Seafood Transportation
Every airline, from Alaska Airlines and Delta to United and Southwest, has specific policies regarding the transportation of perishable goods like fresh or frozen seafood. While the general sentiment is "yes, you can bring it," the devil is truly in the details. Most carriers require your fish to be frozen solid or packed with an approved refrigerant that won't leak. This isn't just about common courtesy to other passengers; a leaking cooler can cause damage to other luggage and aircraft components, leading to potential fines for you and a very unpleasant experience for everyone involved.
Often, airlines will specify the type of container: sturdy, leak-proof coolers are usually preferred, and some even require special wax-coated boxes that can be purchased at fish markets or freight services. It’s always a wise move to check with your specific airline directly, well in advance of your travel date. A quick call to their customer service or a visit to their website's baggage policy section for "perishables" or "seafood" will save you a world of trouble. They might have weight restrictions for these items or specific requirements for how the cooler itself is secured. Ignoring these details could mean scrambling at the check-in counter, trying to repack your fish or even having to abandon some of your hard-earned catch.
TSA Regulations for Seafood and Ice
The Transportation Security Administration has its own set of rules, primarily focused on safety and security. When it comes to perishables, their main concerns revolve around liquids and potential hazmat issues. For frozen fish, the good news is that solid items are generally fine. If your fish is thoroughly frozen, it won't be considered a liquid by TSA.
However, if you're using ice to keep your fish cold, this is where it gets tricky. Traditional wet ice is a big no-go for carry-on luggage, and it's also highly problematic for checked baggage due to the potential for melting and leaking. The TSA rule of thumb is that ice must be completely frozen when going through security. If it's slushy or watery, it will be confiscated. This is why most travelers opt for gel packs or dry ice. Gel packs must also be completely frozen when presented at the checkpoint. Dry ice, on the other hand, is generally permitted in both carry-on and checked baggage, but with very specific limitations. Most airlines and the TSA restrict dry ice to 5.5 pounds (2.5 kg) per passenger, and it must be properly vented to allow for the release of carbon dioxide gas. If not, it can cause pressure buildup and potentially rupture the container. Make sure your cooler or box explicitly states "dry ice" and has proper ventilation holes.
Washington's Role: Proving Your Catch is Legal
Beyond airline and TSA rules, you still have state-specific regulations to contend with, particularly concerning bag and possession limits. When transporting your catch, especially across state lines, it's paramount that you can prove its legality. This means ensuring you've adhered to all Washington Fishing Regulations Every Angler Should Know and have accurately completed your The Washington Catch Record Card and What It Requires.
Washington Department of Fish and Wildlife (WDFW) officers and even game wardens in other states have the authority to inspect your catch. If your fish is filleted, it must often meet specific identification requirements. For example, some species must retain a patch of skin to aid in identification, and others might need to be kept whole until you reach your final destination. Always consult the current regulations pamphlet regarding these rules, especially for salmon and steelhead. Having your valid Washington Fishing License Guide for Nonresidents (if applicable) and a meticulously filled out Catch Record Card, showing your legal harvest, is your best defense. This is particularly important for species like salmon and steelhead, which have very strict reporting requirements and often differing Understanding Washington's Daily Bag Limits by Species. Without this proof, you could face significant Fines and Penalties for Common Fishing Violations at either end of your journey. Remember, the journey doesn't end when the fish is caught; it ends when it's legally and safely in your freezer at home.
The Art of Proper Fish Packaging for Air Travel
So, you've checked the rules, confirmed your fish is legal, and now it's time to get down to the nitty-gritty: packaging. This isn't just about throwing your fish in a bag; it's a science, an art, and absolutely critical to preserving the quality of your catch and avoiding a messy, stinky disaster at the airport baggage claim.
Why Proper Packaging is Non-Negotiable
Imagine the horror: you arrive at your destination, eagerly await your cooler, only to find it dripping, emitting a foul odor, and with half your prized salmon juice-soaked into your other luggage. Or worse, the airline refuses to load it because it's not properly sealed. This is not hyperbole; it's a reality for those who skimp on packaging. Leakage isn't just an inconvenience; it can damage other passengers' belongings, contaminate the aircraft's cargo hold, and lead to serious charges from the airline.
Beyond avoiding a mess, proper packaging is essential for food safety. Fish is highly perishable, and temperature control is paramount. Fluctuations in temperature allow bacteria to multiply rapidly, leading to spoilage and potential health risks. A well-packed cooler maintains a consistent, low temperature, safeguarding the flavor and texture of your catch. Plus, a securely packed box helps protect the fish from physical damage during transit, ensuring your fillets arrive in pristine condition, ready for the dinner plate. Investing a little extra time and money in proper packaging is always worth it to protect your valuable catch and your peace of mind.
Step-by-Step Packaging Guide
Getting your fish ready for its aerial journey requires a methodical approach, starting from the moment it leaves the water.
Cleaning and Processing for Travel
First things first: your fish needs to be meticulously cleaned and processed. If you’re catching salmon or steelhead, this often means filleting, removing the skin if desired, and trimming any dark meat. For bottom fish like lingcod or halibut, the same applies. The goal is to maximize freezer space and ensure uniform freezing. Once filleted, pat the fish dry with paper towels to remove any excess moisture. Then, vacuum seal your individual portions. This step is a game-changer for long-term freshness, preventing freezer burn and keeping oxygen away from the delicate flesh. You can find excellent vacuum sealers and bags on Amazon if you don't already own one. After vacuum sealing, flash freeze your fish. Lay the sealed packages flat in a freezer until they are rock solid, preferably for at least 24 hours. The colder and harder the fish is when it starts its journey, the longer it will stay frozen.
Choosing the Right Container
The container is your primary defense against spoilage and leakage. Avoid flimsy cardboard boxes. The best options are insulated coolers, thick-walled Styrofoam boxes, or specialized wax-coated fish boxes. A high-quality hard-sided cooler, like those made by Yeti or Orca, offers superior insulation but can add significant weight, potentially incurring overweight baggage fees. More commonly, travelers use durable, insulated fish boxes that can be purchased from local fish processors, sporting goods stores, or even online. Many fish markets around Seattle, especially near popular fishing areas, also sell these specifically for air travel. Ensure the box is sturdy enough to withstand rough handling by baggage crews. Consider using a double-bagging method: line the chosen container with a heavy-duty trash bag or contractor bag before adding the fish, just in case there's any internal condensation or a small leak in your fish packaging.
Utilizing Proper Refrigerants
To keep your fish frozen solid for hours, you need the right refrigerants. As discussed, wet ice is generally out. Your best bets are:
- Gel Packs: These are non-toxic, reusable, and stay frozen longer than regular ice. They can be placed directly with your vacuum-sealed fish packages. Make sure they are completely frozen solid before heading to the airport.
- Frozen Water Bottles: A cost-effective and readily available option. Fill plastic water bottles and freeze them solid. They act like large, slow-melting ice blocks, and once melted, the water can still be consumed, minimizing waste.
- Dry Ice: This is the most effective way to keep items frozen for extended periods, but comes with specific rules. You can usually find dry ice at larger grocery stores or specialty dry ice suppliers in the Seattle area. Remember the 5.5-pound limit and the need for proper ventilation. Pack the dry ice on top of your fish, as cold air sinks. Never touch dry ice directly with bare skin, as it can cause severe frostbite.
Layer your frozen fish with your chosen refrigerant. Fill any empty spaces in the cooler with crumpled newspaper or bubble wrap to minimize air pockets, which helps maintain a consistent temperature.
Sealing and Labeling Your Package
Once everything is inside, seal your container thoroughly. If using a cooler, ensure the lid is tightly latched. For boxes, use heavy-duty packing tape to seal all seams and edges. Pay particular attention to the bottom seams. Some airlines require specific banding or zip ties for security. On the exterior of the package, clearly label it with your name, contact information, flight details, and the contents ("Frozen Fish – Perishable"). If you’re using dry ice, label the outside with "Dry Ice" and the net weight (e.g., "Dry Ice: 5 lbs"). This clear labeling helps baggage handlers, airline staff, and TSA understand the contents and handle it appropriately. It's a small detail that can make a big difference in ensuring your fish travels smoothly.
Maximizing Freshness: Timing and Logistics
Even with the best packaging, time is the enemy of freshness. You want to minimize the time your fish spends out of a deep freeze.
First, coordinate your fishing trip and flight times strategically. If possible, plan your last day of fishing to allow ample time for processing and freezing your catch. If you’re staying at a hotel or rental, inquire about freezer access. Many accommodations, especially those catering to anglers, will have large freezers available. Failing that, local fish processors or sporting goods stores often offer freezing services for a fee. Getting your fish as frozen as possible before it enters your travel cooler is the single most important step.
On travel day, keep your cooler in the coldest part of your vehicle for as long as possible. If you're staying in Seattle, consider picking up your dry ice or frozen gel packs just hours before you head to Seattle-Tacoma International Airport (SEA). The less time your refrigerants have to "work" before the flight, the better. When you arrive at the airport, proceed directly to the check-in counter. Do not dawdle. The goal is to get your cooler into the temperature-controlled cargo hold of the airplane as quickly as possible. This meticulous attention to timing, from the moment of catch to the moment it's checked in, significantly boosts the chances of your fish arriving at your doorstep in peak condition. Think of it as a race against the clock, where every minute counts in preserving that hard-earned freshness.
Navigating Seattle-Tacoma International Airport (SEA) with Your Catch
Once your fish is perfectly packed and rock-solid frozen, the final leg of the journey begins: getting it through Seattle-Tacoma International Airport (SEA). This can be a busy and sometimes overwhelming place, so having a plan is key to a smooth experience.
Where to Go: Checking Your Fish at SEA
Checking in your fish, especially if it's in a large cooler, isn't quite like checking a regular suitcase. While you'll still head to your airline's check-in counter, be prepared for a slightly different process. When you arrive at the airline counter, inform the agent immediately that you are checking a cooler with frozen fish and, if applicable, dry ice. They may have specific procedures or require an additional tag for perishable items or hazardous materials (dry ice). Don't try to hide the fact you have dry ice; being upfront will save you from potential delays or issues.
Some airlines may direct you to a special oversized baggage drop-off point, especially if your cooler is large. Others might simply take it at the regular counter. Weight is a critical factor here. Standard checked baggage limits usually apply, often 50 pounds for economy class. An insulated cooler full of frozen fish and ice can quickly exceed this, leading to hefty overweight baggage fees. It's a good idea to weigh your cooler at home before you leave. You can find portable luggage scales on Amazon that are quite handy for this. If you’re close to the limit, consider splitting your catch into two smaller containers if possible, or shipping some of it separately, which we'll discuss as an alternative.
Last-Minute Supplies Near the Airport
Even the most organized angler can forget something crucial. Maybe your dry ice evaporated faster than expected, or your cooler suffered damage on the drive to the airport. Thankfully, the Seattle area has options for last-minute supplies, though it's always best to be prepared in advance.
For general packing supplies like extra tape, bubble wrap, or even an emergency Styrofoam cooler, major grocery stores like QFC, Safeway, or Fred Meyer are usually your best bet. Several of these chains have locations within a 15-20 minute drive of SEA. For dry ice, you'll likely need to seek out a specialty ice supplier, a larger grocery store that explicitly sells it (call ahead!), or a welding supply store. Companies like Praxair often have locations throughout the greater Seattle area. Be aware that these might not be right next to the airport, so factor in travel time. For more specialized fish boxes, your best bet is to call local fish markets or processing facilities in towns like Seattle or Everett; they often stock durable, travel-friendly options. This is also where you might find solutions if you need last-minute fish processing before freezing.
Dealing with Unexpected Issues
Despite your best efforts, sometimes things go sideways. The airline might deem your packaging insufficient, your cooler might be overweight, or a rule might have changed that you weren't aware of. Don't panic.
If your packaging is rejected, ask what specifically needs to be improved. Is it a leak? Does it need more tape? Do you need a vented box for dry ice? If it's an issue with wet ice, you might have to find a way to dispose of the water and replace it with frozen gel packs or dry ice. If your cooler is overweight, you'll either have to pay the overweight fee (which can be substantial, often $100+ for 50-70 lbs, and even more for heavier categories) or remove some fish. This is where having a backup plan, like pre-researching nearby shipping services, can be invaluable. If you have to remove fish, consider donating it to a local food bank if feasible, rather than simply discarding it.
In rare cases, you might encounter an issue with the TSA concerning your refrigerants. Always be polite and cooperative. If there’s a misunderstanding about dry ice ventilation or gel pack solidity, follow their instructions. Remember, their primary goal is security. Having screenshots of your airline's and TSA's policies on your phone can sometimes help clarify things, but ultimately, their decision is final. The key is to remain calm, ask clear questions, and be flexible in finding a solution to get your precious cargo on its way.
Cost Considerations and Alternatives for Your Catch
Flying your fish home isn't always cheap, and it’s important to factor in all the potential expenses to avoid sticker shock at the airport. Sometimes, an alternative method might even be more economical or convenient.
The True Cost: Baggage Fees and Supplies
The most obvious cost you’ll incur is airline baggage fees. Most airlines charge for checked bags, and a cooler counts as one. If you’re traveling with multiple pieces of luggage, your fish cooler could easily be your second or third checked item, incurring higher fees. Beyond the standard baggage fee, the real kicker can be overweight baggage fees. As mentioned, most standard limits are 50 pounds (23 kg). A large cooler with frozen fish can easily exceed this, especially if you’ve had a successful trip. These fees can range from $75 to $200 or more for a single bag, depending on how far over the limit you are and which airline you're flying. It’s crucial to weigh your packed cooler before you leave for the airport, and have a plan for how you’ll handle it if it’s too heavy.
Beyond airline fees, don't forget the cost of packaging supplies. A quality insulated cooler or specialized fish box can range from $30 to $150. Vacuum sealer bags, gel packs, and dry ice all add up. While the cost of these items might seem minor compared to the fishing trip itself, they contribute to the overall expense of getting your catch home. Keep in mind that for a long-haul flight, you might need a substantial amount of dry ice to keep everything truly frozen, further increasing costs. Preparing for these expenses beforehand will make the process much smoother and less stressful.
Shipping Your Fish Home: A Different Approach
For some anglers, especially those with a very large catch, an extended travel schedule, or a long-distance flight, commercially shipping your fish home might be a more practical, albeit often more expensive, alternative. Companies like FedEx, UPS, and even dedicated seafood shippers based near Seattle offer services specifically designed for transporting perishable goods.
The main advantage of shipping is convenience and reliability. These services are experts in temperature-controlled shipping and often have specialized packaging and logistics for frozen items. You can typically drop off your properly packaged and labeled fish at one of their service centers in the Seattle area, and they will ensure it reaches your doorstep, often within 24-48 hours. This eliminates the stress of airport check-in, worrying about overweight bags, or managing dry ice yourself. They'll advise you on the best type of insulated shipping container, refrigerants, and labeling requirements.
However, the cost can be significantly higher than checking an extra bag, sometimes running into hundreds of dollars depending on weight, destination, and speed of service. You'll also need to ensure your fish is processed and packaged to their specific standards, which might differ from airline requirements. If you choose this route, research services well in advance, get quotes, and understand their drop-off deadlines. For large quantities of fish, or if your flight home includes multiple connections, shipping can often be the best way to safeguard your catch and ensure it arrives fresh and intact. For those seeking maximum peace of mind when Transporting Your Catch Across State Lines Legally, this option is definitely worth considering.
Comparative Cooling Methods for Air Travel
To help you make an informed decision about keeping your fish cold during transit from Seattle, here's a quick comparison of the most common cooling methods:
| Method | Pros | Cons | TSA/Airline Considerations | Cost (Approx.) | Best Use Case |
|---|---|---|---|---|---|
| Frozen Gel Packs | Reusable, non-toxic, no melting mess | Don't stay frozen as long as dry ice, add weight | Must be frozen solid for carry-on/checked; no liquid allowed | Low-Mid ($10-30/set) | Shorter flights, smaller coolers, ease of use |
| Frozen Water Bottles | Cost-effective, reusable, water can be drunk | Add significant weight, don't stay frozen as long as dry ice | Must be frozen solid for carry-on/checked; no liquid allowed | Very Low ($0-5) | Budget-conscious, moderate flight times |
| Dry Ice | Excellent freezing power, keeps items rock-solid | Hazardous material regulations, requires venting, can cause frostbite | Max 5.5 lbs (2.5 kg) per passenger, must be properly vented and labeled "Dry Ice" | Mid-High ($20-50/5lbs) | Longer flights, very large quantities, critical freezing |
| Traditional Wet Ice | Readily available, inexpensive | Melts quickly, creates water, major leak risk, not permitted by TSA | NOT permitted by TSA in liquid form for carry-on or checked baggage due to leakage; must be completely frozen solid (impractical) | Very Low ($0-5) | Not recommended for air travel |
Disclaimer
Please note that fishing regulations, airline policies, and TSA rules can change. While this guide provides comprehensive and up-to-date information based on current knowledge, it is always your responsibility to verify the most current regulations directly with the Washington Department of Fish and Wildlife (WDFW), your chosen airline, and the Transportation Security Administration (TSA) before planning your trip. This information is for general guidance only and does not constitute legal advice.