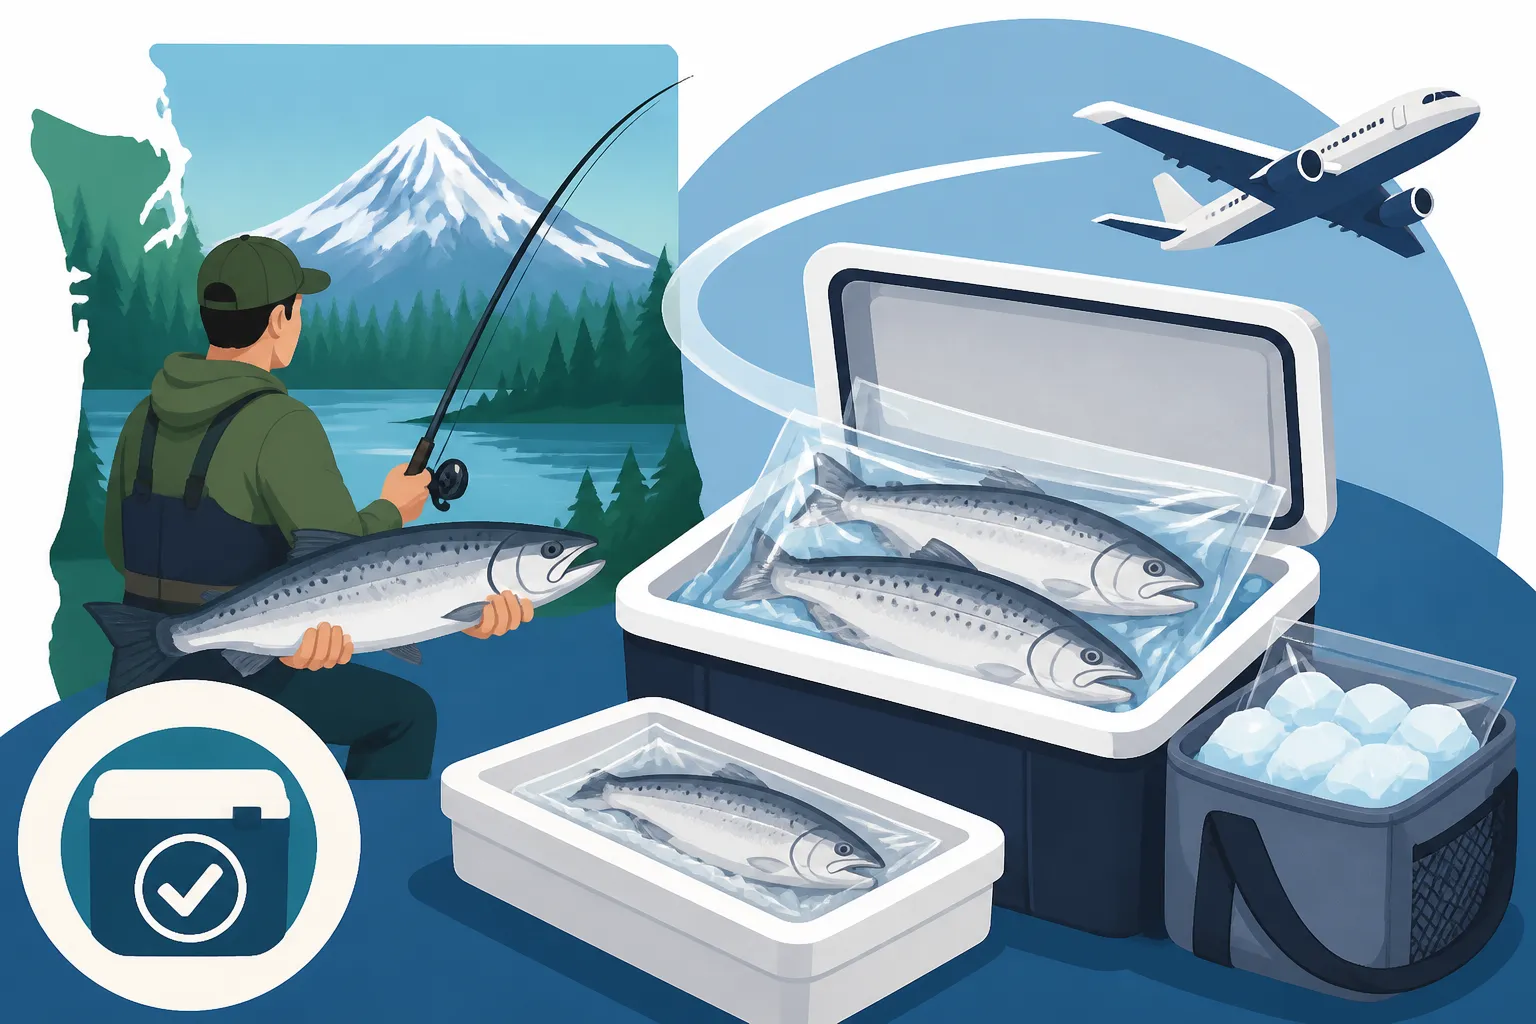
How to Package Fish for the Flight Home
You've just wrapped up an incredible fishing trip in Washington, maybe pulling a monster Chinook from Puget Sound or a gleaming steelhead from the Cowlitz. The hard part is over – you’ve landed the fish of a lifetime! But now comes the logistical headache: how do you get your precious catch from the chilly waters of Washington all the way back home on a plane without it spoiling, leaking, or causing a massive fuss at the airport? This guide is here to untangle all those anxieties, providing you with a detailed roadmap to confidently package your fish for a smooth flight home.
Understanding Airline Regulations and TSA Rules for Seafood
Before you even think about buying a cooler, you absolutely must familiarize yourself with the rules set forth by airlines and the Transportation Security Administration (TSA). These aren't just suggestions; they are strict guidelines designed to ensure safety and prevent major issues like leaks, odors, and even hazardous material concerns on an aircraft. Ignoring them could mean leaving your hard-earned catch behind.
General Airline Guidelines for Perishable Goods
Every airline has its own set of rules for checking perishable items, and while there's a lot of overlap, those subtle differences can trip you up. Most airlines, whether you're flying Alaska Airlines, Delta, or United, require that any perishable food, especially fish, be packed in a leak-proof container. This isn't just about preventing a mess in the cargo hold (though that's a huge part of it); it's about avoiding damage to other passengers' luggage and maintaining sanitary conditions. Many airlines will flat-out refuse a cooler that shows any sign of leaking, even a tiny drip.
Beyond the leak-proof mandate, you'll also need to consider weight and dimension restrictions. A large cooler packed with heavy fish and ice can quickly exceed the standard checked baggage weight limit, which is typically 50 pounds for economy class on most domestic flights. If you go over, be prepared for hefty oversized baggage fees that can easily eat into the savings of bringing your catch home. Always check your specific airline's website or give them a call well in advance of your trip to confirm their current policies and avoid any last-minute surprises. A little preparation here can save you a lot of grief – and money – at the airport. You'll want to review specific guidelines on How to Ship Fish Home From Washington.
TSA Rules for Ice and Dry Ice
The Transportation Security Administration (TSA) has a distinct set of regulations regarding what kind of cooling agents you can use to keep your fish fresh. When it comes to regular ice, the rule is simple: if it's going to melt into water, that water must be contained. This means no loose ice cubes in a cooler that aren't sealed in multiple bags, or better yet, avoid water ice altogether. Frozen gel packs are often a preferred choice because they stay solid for longer and don't turn into liquid water, significantly reducing the risk of leaks. Frozen water bottles are another excellent, cheap alternative, but like regular ice, they will eventually melt into water, so multiple layers of containment are still critical.
Dry ice is a game-changer for keeping things frozen solid on longer flights, but it comes with stricter regulations. Due to its sublimation (turning directly from solid to gas) and the potential for pressure buildup, the TSA limits the amount of dry ice you can carry, usually to 5.5 pounds per passenger. More importantly, the packaging must be vented to allow the carbon dioxide gas to escape safely, preventing the cooler from exploding. Your cooler must also be clearly labeled "Dry Ice" and include the net weight of the dry ice within the package. Always confirm with your airline if they accept dry ice and what their specific labeling and venting requirements are, as some might have stricter internal policies than the TSA minimums. You can explore more about what you can bring in Can You Fly Home With Fish From Seattle?.
Specific Considerations for Fillets vs. Whole Fish
When deciding whether to bring back whole fish or fillets, there are a few practical considerations that can make your journey significantly easier or harder. Fillets, especially if properly processed, are generally far more manageable for air travel. They take up less space, making it easier to fit more fish into your cooler without exceeding weight or dimension limits. The lack of bones and internal organs also drastically reduces the chance of unpleasant odors developing during transit, which is a major concern for both you and your fellow passengers.
If you opt for fillets, ensure they are thoroughly cleaned, skinned (if preferred), and as boneless as possible. Proper preparation by a professional fish processor or yourself is key here. For example, if you catch a sizable Lingcod or Halibut, filleting it means you’re only transporting the prime meat, which is lighter and easier to chill evenly. However, if you're insistent on bringing a whole fish, perhaps a trophy or for a specific culinary purpose, be prepared for extra effort. All blood and guts must be meticulously removed, and the body cavity thoroughly cleaned and dried. Any residual moisture can promote bacterial growth and, more immediately, lead to leaks. Packing a whole fish requires a larger cooler and even more diligent attention to draining and containment, as its irregular shape can create air pockets and make leak-proofing a challenge. Keeping detailed records for your catch, especially if filleted, is a good idea, as described in Records You Should Keep With Your Fish Fillets.
Essential Supplies for Packaging Your Catch
Once you have a handle on the rules, it's time to gather your gear. This isn't the time to cut corners; investing in the right supplies will make all the difference between a triumphant homecoming with delicious fish and a regrettable, smelly disaster. Think of it as an extension of your fishing tackle – essential tools for a successful trip, all the way to your dinner table.
The Right Cooler or Fish Box
Choosing the correct cooler or fish box is paramount. For air travel, not all coolers are created equal. You'll primarily be looking at two categories: hard-sided and soft-sided, with specialized insulated boxes often falling into the hard-sided category in terms of performance.
Hard-Sided Coolers:
These are your heavy-duty champions, like the popular YETI Tundra or RTIC coolers. Made with rotomolded construction, they offer superior insulation and incredible durability. They can withstand the rigors of baggage handling without cracking or collapsing, and their thick walls mean your fish stays frozen longer. The key feature to look for is a genuinely leak-proof design – sturdy latches, a tight-fitting lid, and, ideally, a drain plug that can be secured or even taped over to prevent accidental openings. The downside is their weight; even empty, these coolers can be substantial, eating into your precious 50-pound allowance. You might find excellent options at local sporting goods stores like those in Seattle, or you can browse a wide selection of brands and sizes on Amazon.
Soft-Sided Coolers:
While great for picnics or a day trip, most soft-sided coolers aren't ideal for checking fish on a plane. They lack the structural integrity and insulation of their hard-sided counterparts. However, some heavy-duty, expedition-grade soft coolers with rigid liners and thick insulation might work for very short flights with already frozen fish. Always prioritize a leak-proof liner and strong zippers if considering this option, but proceed with caution.
Specialized Insulated Fish Boxes:
These are often made of reinforced Styrofoam or heavy-duty cardboard with thick insulation, designed specifically for shipping fish. They are lightweight, which is a huge advantage when dealing with airline weight limits. Many fish processing facilities will use and sell these. They often require additional sealing with tape but can be a cost-effective and efficient solution, especially if you’re purchasing pre-packaged fish from a processor. When selecting any option, envision it being tossed around by baggage handlers and sitting on a tarmac – it needs to hold up, and it absolutely, positively cannot leak.
Inner Packaging: Bags, Wraps, and Vacuum Sealers
Beyond the outer cooler, what you use to contain your fish inside is equally, if not more, critical. This is your leak-proof defense system, preventing any moisture, odor, or blood from reaching the exterior of your package.
Heavy-Duty Freezer Bags:
These are non-negotiable. Standard kitchen Ziploc bags, while convenient for home use, simply aren't robust enough for the demands of air travel. Look for freezer bags specifically designed for long-term freezing, often thicker and more puncture-resistant. Double-bagging each portion or even triple-bagging offers an extra layer of security. If you’ve ever had a freezer bag tear and leave a mess in your home freezer, imagine that amplified by a factor of ten inside an airline’s cargo hold. Brands like Hefty or Ziploc make robust freezer bags, and you can stock up on large quantities efficiently from online retailers like Amazon.
Vacuum Sealers:
This is perhaps the single greatest investment an angler can make for preserving their catch and ensuring a leak-free journey. A good vacuum sealer machine, like those from FoodSaver or Seal-a-Meal, removes all the air from around your fish, then creates a heat seal. This process prevents freezer burn, extends the shelf life of your fish by months, and creates an incredibly compact, leak-proof package. Imagine individual portions of salmon fillets, tightly sealed without a single drop of moisture escaping. This not only keeps your cooler clean but also maximizes space and insulation. While a vacuum sealer itself can be an upfront cost, the specialized bags are also an ongoing expense, but the peace of mind and quality preservation are priceless. Many reliable and affordable vacuum sealer options, along with their compatible bags, are readily available for purchase on Amazon.
Heavy-Duty Plastic Wrap:
For an extra layer of protection around vacuum-sealed or freezer-bagged portions, or if you don't have a vacuum sealer, heavy-duty plastic wrap can provide a tighter seal against moisture and air. Wrap each bagged portion several times to create a robust, almost impenetrable barrier. This is especially useful for oddly shaped pieces or if you're concerned about any potential stress points on your freezer bags.
Cooling Agents: Gel Packs, Frozen Water Bottles, and Dry Ice
The choice of cooling agent is crucial for maintaining the temperature of your fish, especially during long travel days. Each option has its pros and cons, and the best choice often depends on the length of your flight and airline restrictions.
Gel Packs:
These reusable packs are excellent because they don't turn into liquid water, eliminating the risk of leaks from melting ice. They maintain a consistent cold temperature for several hours. For a typical 4-6 hour flight, a generous number of frozen-solid gel packs can work wonders. Freeze them for at least 24-48 hours before packing for maximum effectiveness. You can get large multi-packs designed for shipping, which are often found at camping stores or online.
Frozen Water Bottles:
A budget-friendly and effective alternative to gel packs. Fill plastic water bottles about 80% full (to allow for expansion), freeze them solid, and use them like gel packs. They provide excellent cold mass. The downside is they eventually melt into water, so ensure they are securely contained within your inner packaging system to prevent leaks if a bottle splits or isn't completely sealed.
Dry Ice:
For long-haul flights or if you absolutely need your fish to stay rock-solid frozen for 24+ hours, dry ice is the king. It sublimates at -109.3°F (-78.5°C), keeping everything around it deeply frozen. However, it requires careful handling (always use gloves to avoid frostbite) and adherence to strict airline and TSA regulations for venting and labeling. As mentioned earlier, there's typically a 5.5 lb limit, and your cooler must allow for gas to escape. Source dry ice just before your trip from specialty gas suppliers, ice cream shops, or some larger grocery stores. Plan for roughly 2-3 lbs of dry ice per 24 hours for a well-insulated cooler. Consider what you need to bring for a successful fishing trip, generally, by checking out What to Pack for a Washington Fishing Road Trip.
| Cooling Agent | Pros | Cons | Ideal Use Case |
|---|---|---|---|
| Gel Packs | Reusable, no liquid mess, consistent cold | Less intense cold than dry ice, limited duration | Shorter flights (under 6-8 hours), already frozen fish |
| Frozen Water Bottles | Inexpensive, readily available, good cold mass | Melts to liquid, potential for leaks if packaging fails | Mid-range flights (6-10 hours), backup to gel packs |
| Dry Ice | Superb freezing power, keeps fish rock-solid | Special handling needed, airline/TSA rules, venting req. | Long-haul flights (10+ hours), large quantities of fish |
Step-by-Step Guide to Packaging Fish for Air Travel
Now that you have your supplies and understand the rules, let's get down to the actual process of packaging your fish. This is where meticulous execution makes all the difference. Rushing this stage is a recipe for disaster.
Preparing Your Catch for Packaging
The most crucial step starts long before you even touch the packaging materials: proper fish preparation and chilling. This ensures maximum freshness and minimizes the risk of spoilage.
Firstly, bleed and gut your fish immediately after catching them. This is vital for flavor and preservation. If you're on a guided trip, your guide will likely handle this for you. Many professional charters will even offer to clean and fillet your fish. You can find out more about this service by looking into Do Charters Clean and Package Your Fish?. Next, thoroughly clean the fish or fillets, removing any scales, bloodlines, or residual guts. Rinse with cold water and pat dry with paper towels. Excess moisture is the enemy of preservation.
The second, equally critical step is to freeze your fish solid. While some short flights might tolerate very well-chilled, fresh fish on gel packs, the safest and most airline-friendly approach is to freeze your catch solid, preferably vacuum-sealed. This means placing your vacuum-sealed or heavily freezer-bagged portions in a deep freezer for at least 24-48 hours, or until they are frozen through to the core. A block of ice melts far slower than fresh fish and maintains a much lower temperature for a longer period. This also addresses many airline concerns about preventing bacterial growth. If your fish isn't frozen solid, it won't stand a chance on a long journey, especially if there are unexpected delays.
The Layering Method for Maximum Insulation
Once your fish is prepared and frozen solid, it's time for the ultimate packaging process – the layering method. This creates multiple barriers against leaks and maximizes thermal insulation.
- Vacuum Seal or Double-Bag Individually: Each individual portion of fish (fillet, steak, or whole small fish) should be vacuum-sealed or placed into two heavy-duty freezer bags. Expel as much air as possible from freezer bags before sealing.
- Add Absorbent Material: Line the bottom of your cooler with a layer of absorbent material. Newspaper, paper towels, or even puppy training pads (which you can conveniently purchase on Amazon) work wonderfully to catch any minute condensation or unexpected drips. This acts as a final fail-safe.
- Strategic Placement of Cooling Agents: If using dry ice, place a layer of it at the bottom, wrapped in newspaper or paper to prevent direct contact with your fish (which can cause freezer burn, though often negligible for short flights). If using gel packs or frozen water bottles, distribute a portion of them on the bottom layer.
- Pack the Fish Tightly: Arrange your individually packaged, frozen fish into the cooler. The goal is to fill every available space with fish, minimizing air gaps. Air gaps allow for faster temperature fluctuations. Pack tightly, like a puzzle, to maximize your load and insulation.
- More Cooling Agents on Top: Once your fish is packed, place another generous layer of cooling agents on top. Cold air sinks, but having cold sources on top and bottom creates a more uniform cold environment. If using dry ice, again, ensure it's wrapped and adequately vented.
- Seal the Inner Liner (if applicable): If your cooler has a removable inner liner or you've created a custom liner with heavy-duty garbage bags, seal it completely with duct tape around the edges to create an additional leak-proof barrier inside the cooler.
- Final Cooler Seal: Close the cooler lid tightly. For hard-sided coolers, ensure the latches are securely fastened. For any cooler, consider taping the lid shut with heavy-duty packing tape or duct tape around the perimeter, especially if you're concerned about latches popping open or a less-than-perfect seal. This also adds another barrier against curious hands or accidental openings during transit.
Sealing, Labeling, and Checking Your Package
After meticulously packing your fish, the final steps involve securing your package, ensuring it's clearly identifiable, and verifying it meets airline requirements before you even leave for the airport.
Firstly, tape everything securely. Use high-quality, heavy-duty packing tape or duct tape to seal any seams on your cooler, especially if it’s a non-rotomolded box or you want extra assurance for your hard cooler’s lid. Reinforce the latches by taping over them. The goal is to create a package that absolutely cannot come open or leak, regardless of how it's handled.
Secondly, label your package clearly and comprehensively. On the outside of your cooler, attach a visible label (or write directly with a permanent marker) including:
- Your full name
- Your destination address and phone number
- "PERISHABLE – FROZEN SEAFOOD"
- If using dry ice: "DRY ICE – [Net Weight of Dry Ice in pounds]" and "VENTED."
This information is crucial in case your luggage is misplaced or delayed. Clear labeling also signals to baggage handlers that the contents are delicate and require careful handling. This isn't quite a Washington Catch Record Card, but it's equally important for your fish's journey!
Lastly, check the weight of your packaged cooler. Before you even step foot in the airport, weigh your cooler at home. Many airlines enforce strict 50-pound limits for checked baggage, and going over means significant fees. If you're close to the limit, remove any non-essential items or redistribute weight if you have multiple checked bags. You don't want to be scrambling to repack or jettison fish at the check-in counter, which is stressful for everyone involved. Being prepared means knowing your package is within limits before you go.
Navigating the Airport and Checking Your Fish
You’ve done all the hard work in preparing and packaging your prize catch. Now comes the final leg of the journey: getting it through airport security and onto your plane. This part can be intimidating, but with the right approach, it can be just as smooth as your flight.
Arriving at the Airport and Declaration Tips
The golden rule for traveling with perishables is arrive early. Give yourself ample time to navigate potential delays or extra screening that might arise from checking a cooler of fish. This isn't like checking a regular suitcase; you might encounter questions or require a secondary inspection, especially if you're using dry ice.
When you get to the airline check-in counter, declare your perishable item immediately. Inform the agent that you are checking a cooler containing frozen fish, and if applicable, that it contains dry ice. Being transparent from the start helps the process move smoothly. The agent will confirm the airline’s specific dry ice procedures if you’re using it, ensuring proper labeling and handling. Don't try to hide anything; a confident and honest declaration will be much more effective than hoping nobody notices. Sometimes, they might ask you to sign a waiver stating the airline isn't responsible for spoilage if things go wrong, which is standard procedure. Don't forget that fish boxes can sometimes count as regular checked bags, but always verify details like Do Airlines Count Fish Boxes as Checked Bags? with your carrier.
What to Do if There are Delays or Issues
Despite all your careful planning, travel can be unpredictable. Flights get delayed, luggage gets rerouted, and sometimes, things just don't go as planned. Having a contingency plan can save your valuable catch.
Minimize Transfer Risks: Whenever possible, book a direct flight. Each layover increases the risk of your luggage being delayed or mishandled, and critically, it adds more time for your fish to thaw. If a direct flight isn't an option, try to choose flights with short, efficient layovers.
Know Your Airline's Policy on Delays: If your flight is significantly delayed, especially on the tarmac, inquire with the airline staff about the status of checked baggage. While they typically don't have direct access to your specific cooler, understanding their general policies for prolonged delays can give you some peace of mind or, at least, prepare you for potential outcomes.
Emergency Ice/Cooling: In a worst-case scenario where a severe delay might compromise your fish, know where you might be able to purchase additional ice or dry ice at the airport or nearby. Some larger airports have small convenience stores or even services that can provide these. However, this is a last resort and often difficult to execute while juggling boarding passes and security checks.
Ultimately, the best defense against delays is thorough preparation: start with fish that is frozen solid, use premium packaging materials, pack it as tightly as possible, and employ the most effective cooling agents for your travel duration. This maximizes the window of safety for your catch, even when unforeseen circumstances arise. Always be sure to review current rules, like those found in What to Check Before Every Washington Fishing Trip, before setting out.
Disclaimer
Please note that airline regulations and TSA guidelines are subject to change without notice. Always verify the most current policies directly with your chosen airline and the TSA before your travel date. This guide provides general information and best practices, but individual situations may vary.