How to Fish a Dropper Rig for Trout
There’s nothing quite as frustrating as seeing trout dimpling the surface or knowing they’re holding in a deep pool, but your single fly just isn't getting any love. You’ve cast, re-cast, changed flies, and still, nothing. It’s a common scenario for many anglers in Washington's diverse waters, and it often leaves you scratching your head. This guide is here to untangle that frustration and show you how to effectively fish a dropper rig for trout, giving you a versatile tool to catch more fish.
Understanding the Dropper Rig for Trout
The dropper rig is a game-changer for trout fishing, fundamentally increasing your chances of success by allowing you to present multiple fly patterns at different depths or with varying actions simultaneously. Think of it as having more lines in the water, but within the bounds of a single rod and reel setup. It’s about covering more bases and giving those finicky trout more options to bite.
What Exactly is a Dropper Rig?
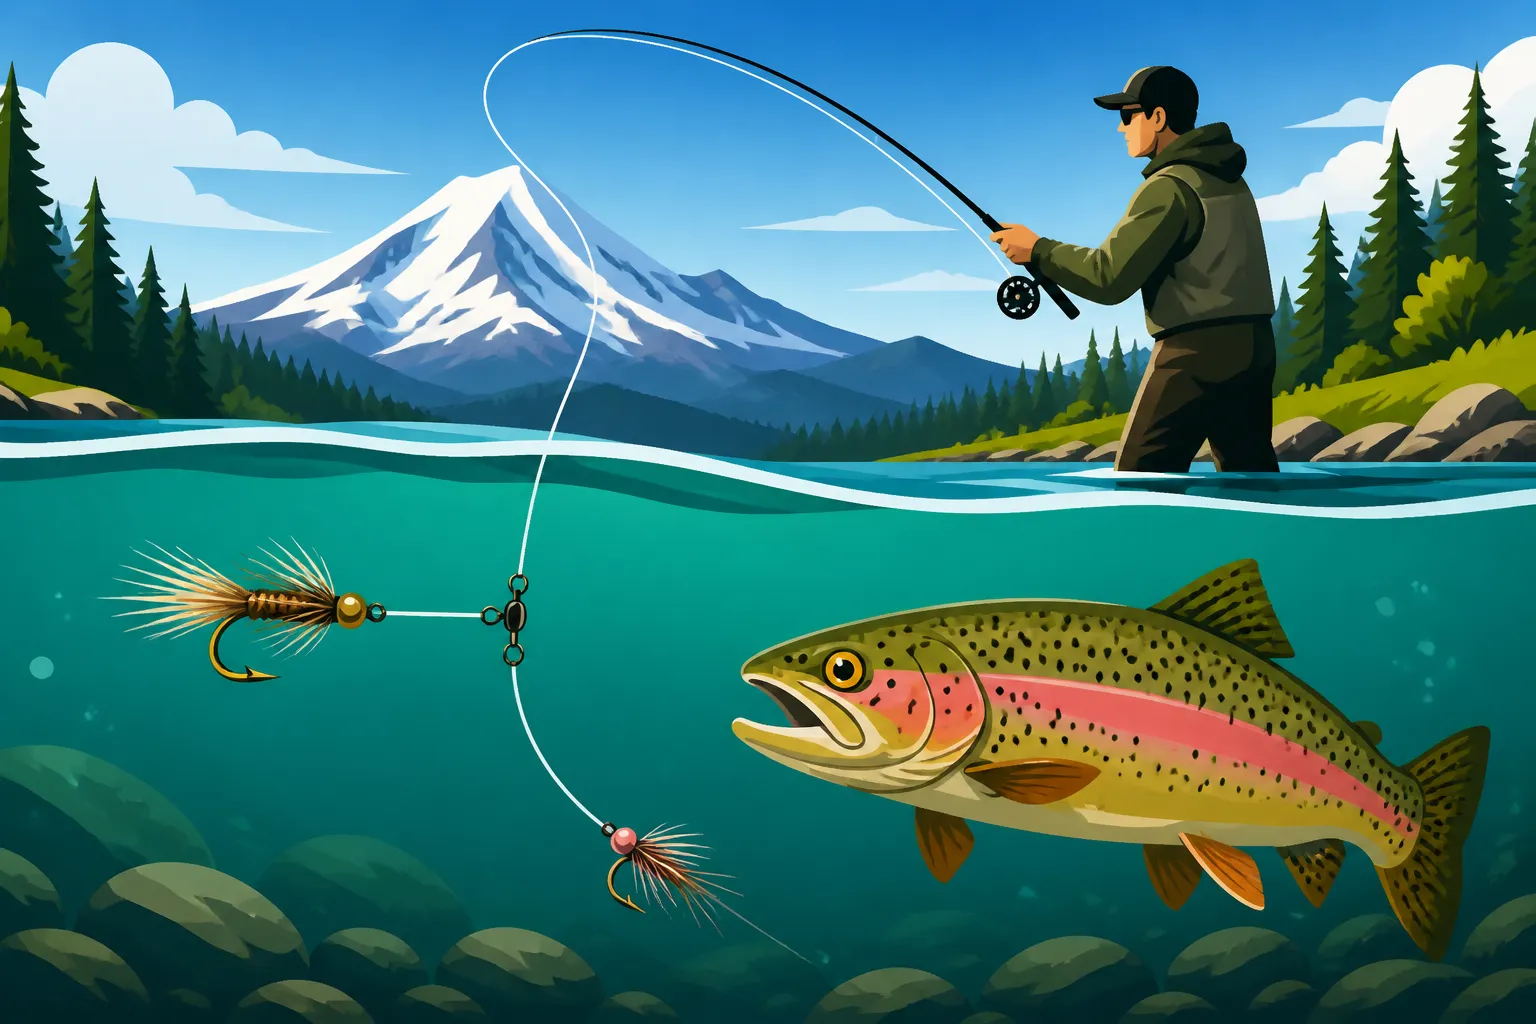
At its core, a dropper rig is simply a setup where you attach a second, or even a third, fly (the "dropper") off your main leader, typically below your primary or "point" fly. Instead of just one fly, you're presenting a small "team" of flies. The first fly might be a dry fly floating on the surface, while a weighted nymph dangles below it. Or perhaps you have two different nymphs mimicking different aquatic insects, probing various depths in the water column. The possibilities are vast, allowing for incredible adaptability.
The magic of this setup lies in its versatility. You can mix and match different types of flies – a dry fly with a nymph, two nymphs, a small streamer with a nymph, or even a dry fly with an emerger. Each fly is strategically placed to cover a specific part of the water, increasing your odds that one of them will look appealing to a passing trout. It's a method that truly allows you to "match the hatch" more effectively, or simply experiment to see what the trout are keying in on.
Why Use a Dropper Rig for Trout?
The advantages of a dropper rig are manifold, making it an indispensable technique for any serious trout angler. First and foremost, it significantly increases your chances of getting a strike. When trout are selective or holding at various depths, a single fly might not cut it. With two or three flies, you're essentially presenting a buffet of options, making it more likely that one of your offerings will be precisely what the trout are looking for. It's a way to hedge your bets and maximize your time on the water.
Beyond just increasing hook-ups, the dropper rig is an incredible tool for exploration and discovery. If you're unsure what the fish are eating, you can tie on several different patterns – perhaps a larger stonefly nymph followed by a smaller mayfly imitation. When one fly consistently gets strikes, you’ve gathered crucial information and can then adjust your entire setup to match that successful pattern. This experimental aspect is not only effective but also makes you a more knowledgeable and observant angler. You can also use a larger, more visible dry fly on top as an indicator for a smaller nymph below, making it easier to detect subtle bites. This is a common and highly effective strategy, especially when Nymphing for Trout on Washington's Yakima River.
Essential Components of a Trout Dropper Rig
Building an effective dropper rig isn't overly complicated, but selecting the right components makes a world of difference. Each element, from your main line to your flies and indicators, plays a crucial role in presentation and ultimately, success. Thinking through these choices before you hit the water will save you time and frustration, and ensure your setup is optimized for the conditions you're facing.
Main Line and Leader Selection
Your main line, often braided or monofilament for spinning gear, serves as the backbone, while your leader is the nearly invisible connection to your flies. For trout, stealth is often key, so a fluorocarbon leader is frequently preferred due to its low visibility underwater and its superior abrasion resistance, especially when fishing around rocky bottoms or submerged timber. Many anglers opt for a tapered leader, which helps with turnover and presentation, typically starting with a heavier butt section and tapering down to a finer tippet.
When selecting breaking strength, consider the size of the trout you're targeting and the water conditions. For most general Washington trout fishing in rivers and lakes, a 4x to 6x fluorocarbon tippet is a good starting point, providing a balance of strength and finesse. For larger trophy trout in places like Lake Chelan, you might go heavier, perhaps 3x, while tiny creeks might call for ultra-light 7x tippet. You can buy spools of tippet material, like those available on Amazon, to custom-build your leaders or extend pre-made tapered leaders. Having a selection of tippet sizes on hand allows you to adapt quickly to changing conditions or hook-ups.
Choosing Your Flies
This is where the dropper rig truly shines – the ability to present multiple patterns. The key is to select flies that complement each other and cover different aspects of the water column or represent different food sources.
-
Dry-Dropper: This is a classic setup, especially effective in rivers when trout are looking up, but also feeding subsurface. You’d use a buoyant dry fly (like a Chubby Chernobyl, a larger Parachute Adams, or an Elk Hair Caddis) as your top fly. This fly serves a dual purpose: it’s an attractive meal on the surface, and it acts as your strike indicator for the dropper. Tied off the bend of the dry fly, a weighted nymph (like a Pheasant Tail, Hare's Ear, or Copper John) dangles below. The length of the dropper leader determines how deep the nymph fishes. This is a fantastic way to target both surface-feeding Rainbow Trout Fishing in Washington and those grubbing on the bottom.
-
Nymph-Dropper: When trout are exclusively feeding subsurface, a two-nymph rig is incredibly effective. The top nymph might be a larger, heavier "point" fly (like a stonefly or a larger scud) that helps get the entire rig down to the desired depth. Below it, a smaller, lighter "dropper" nymph (like a midge, tiny mayfly, or caddis pupa) can drift more naturally in the current. This setup allows you to cover different depths and present various insect imitations. It's especially useful when targeting species like Cutthroat Trout in Washington's Rivers and Lakes that are known to feed on a wide variety of aquatic insects.
-
Streamer-Dropper: For aggressive trout looking for a larger meal, or when you want to imitate baitfish, a streamer with a smaller nymph or even another small streamer as a dropper can be deadly. The streamer creates movement and a larger profile, while the trailing nymph or fly offers a smaller, more subtle option. This is a great choice for prospecting larger pools or lake edges, especially when targeting bigger trout.
Always consider the local insect life and water conditions. For example, if you're fishing a river known for Caddis hatches, a dry Caddis followed by a Caddis pupa nymph would be a smart combination.
Sinkers and Indicators
Managing depth and detecting strikes are critical, and sinkers and indicators are your tools to achieve this.
-
Split Shot: Small, removable lead or non-toxic split shot weights are essential for getting your nymphs down to the feeding zone, especially in faster currents. You’ll typically crimp them onto your leader a foot or two above your first nymph, or distribute smaller shots between your flies for a more natural drift. The amount of weight you add depends entirely on the depth and speed of the water. Too much weight, and your flies drag unnaturally; too little, and they don't get to the fish. Fine-tuning this is crucial for an effective drift.
-
Strike Indicators: These buoyant devices attach to your leader and serve as a visual cue when a fish takes your submerged fly. They come in various styles:
- Foam Indicators: These are popular and easy to attach/adjust. Brands like Thingamabobber or Air-Lock Indicators are common. They offer excellent buoyancy and visibility, even in choppy water.
- Yarn Indicators: Made from treated yarn, these are very sensitive and don't create much splash, making them ideal for spooky fish or delicate presentations. They are also highly adjustable.
- Dry Fly as Indicator: As mentioned, a large, buoyant dry fly can double as your indicator for a subsurface dropper. This is a favorite among fly anglers for its natural presentation.
The placement of your indicator is key. It should be positioned far enough above your flies to allow them to sink to the desired depth, but not so far that you can’t see a subtle take. A general rule of thumb is to place it about 1.5 to 2 times the depth of the water you're fishing. For example, if the water is 4 feet deep, your indicator might be 6-8 feet above your flies. When you’re trying to understand Washington's various regulations for fly fishing, especially on designated waters, remember to consult the Reading the Washington Sport Fishing Regulations Pamphlet before your trip.
Step-by-Step Rigging Your Dropper System
Getting your dropper rig tied correctly is critical for proper presentation and to avoid frustrating tangles. While it might seem a bit daunting at first with multiple flies and connections, breaking it down into manageable steps makes it much easier to master. Once you get the hang of it, you'll be able to rig up quickly and efficiently on the water.
Tying the Leader and First Fly
Start with your tapered leader, connecting it to your main line (backing for fly anglers) with a strong knot, such as a nail knot or an Albright knot. For many anglers, especially with spinning gear, you’ll tie a fluorocarbon or monofilament leader directly to your main line. The length of your leader will vary, but for trout, typically 7-9 feet is a good starting point.
Next, attach your first fly, often called the "point" fly or the "anchor" fly, to the end of your leader. A solid knot like the improved clinch knot or the Palomar knot works well here. If you’re using a dry-dropper setup, this will be your buoyant dry fly. If it's a nymph-dropper, this will be your heaviest nymph, designed to get the whole rig down. Ensure the knot is snug and the tag end is trimmed neatly. This first fly sets the tone for your entire presentation, so make sure it's something you have confidence in.
Consider the role of this first fly. If it's a heavily weighted nymph, it’s not just an offering but also a crucial part of getting your dropper flies into the strike zone. If it’s a dry fly, its buoyancy must be sufficient to support the weight of the dropper below it. Choosing a high-quality leader, like those from reputable brands found on Amazon, can make a real difference in knot strength and presentation.
Attaching the Dropper Fly
There are a couple of popular methods for attaching your dropper fly:
-
The Tag End Method (Most Common for Fly Anglers): After tying your first fly to the leader, leave a longer tag end (6-12 inches) when you trim your knot. You’ll then tie your dropper fly directly to this tag end. This creates a small branch off the main leader, allowing the dropper fly to drift somewhat independently. This method is incredibly clean and minimizes tangles. It's often preferred when you want a more natural presentation for your second fly. The length of this tag end dictates how far below the first fly your dropper will swim.
-
Dedicated Dropper Line (More Common for Spinning/Float Fishing, or when going deeper): In this method, you tie a separate piece of tippet material (often 12-24 inches long) directly to the bend of the hook of your first fly. Your dropper fly then gets tied to the end of this new piece of tippet. This gives you more control over the distance between your flies and allows for an even deeper presentation if needed. It's particularly useful when you're fishing two nymphs or a streamer and a nymph, aiming to cover multiple layers of the water column. Be mindful of knot strength here, as you're creating a point of stress on the first fly's hook.
No matter which method you choose, always check your knots carefully. A dropper rig puts more stress on your connections, and a lost fish due to a faulty knot is never fun. Knowing How to Fish a Dropper Rig for Trout effectively involves mastering these subtle but critical rigging choices.
Adding Weight and Indicator
Once your flies are tied, it's time to add your strike indicator and any necessary weight.
-
Strike Indicator Placement: For a dry-dropper rig, your buoyant dry fly is your indicator, so no additional one is needed. For nymph-dropper setups, attach your chosen strike indicator to your leader a suitable distance above your first fly. As a general rule for rivers, you want the indicator to be about 1.5 to 2 times the depth of the water you're fishing. This allows your flies ample time to sink to the feeding zone. For example, if you're fishing a section of the Wenatchee River that's about 3 feet deep, you might place your indicator 4.5 to 6 feet up your leader from your first fly. In deeper lakes or slower rivers, you might need to adjust this, sometimes going even deeper.
-
Weight Distribution: If your flies aren't getting down fast enough, or if they’re not staying in the strike zone, you'll need to add split shot. Start with one or two small split shots, crimping them onto the leader about 6-12 inches above your first fly. Test your drift. If you're still not getting down, add more weight. Be careful not to use too much, as it can make your flies drag unnaturally, especially in current. The goal is to get your flies to the fish's level without impeding their natural drift. Sometimes, distributing smaller pieces of split shot between your flies can provide a more balanced and natural presentation. Remember that different species, like Steelhead vs Rainbow Trout: What's the Difference?, might require different approaches to weight and presentation due to their size and holding patterns.
The beauty of these components is their adjustability. You can slide your indicator up or down the leader to change fishing depth, and you can easily add or remove split shot as water conditions change. Regularly assessing your drift and making these small adjustments will lead to more strikes and a more enjoyable day on the water.
Fishing Techniques with a Dropper Rig in Washington
Now that your dropper rig is perfectly set up, it's time to put it to work in Washington's diverse waters. Whether you're casting into a swift river or a calm lake, the dropper rig offers unique advantages that, when coupled with the right technique, can significantly boost your catch rate for trout.
Drifting Rivers and Streams
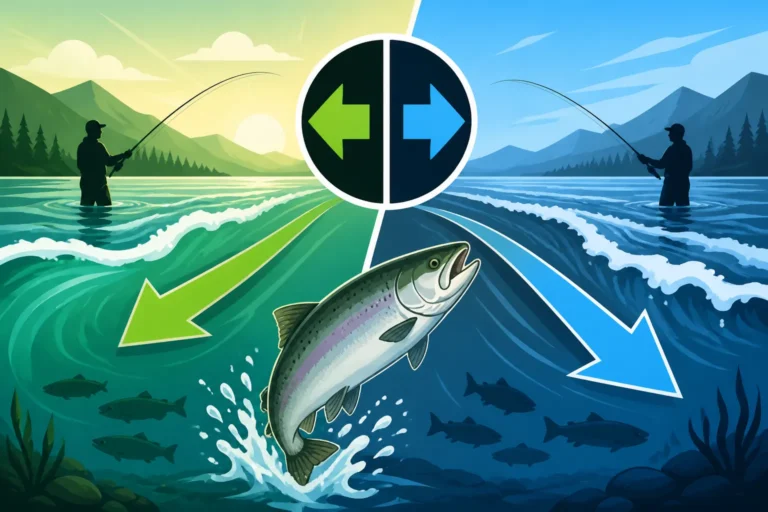
River fishing with a dropper rig, especially a dry-dropper or nymph-dropper, is all about achieving a natural drift. Trout in rivers are typically oriented upstream, waiting for food to drift by. Your goal is to present your flies as if they are unattached, natural insects floating or tumbling downstream.
- Reading the Water: Before you cast, take a moment to "read the water." Look for seams where faster current meets slower current, current breaks behind rocks, deeper pools, or undercut banks. These are prime holding lies for trout. Cast your rig slightly upstream and across from where you expect fish to be.
- Mending the Line: As your flies drift downstream, the current can create drag on your line, pulling your flies unnaturally. To combat this, perform "mends" – subtly flipping a loop of line upstream to straighten out your leader and allow your flies to drift freely. This is crucial for a "dead drift," which is often what triggers a trout to strike. A good mend allows your indicator (or dry fly) to float at the same speed as the current.
- Target Zones: Focus on letting your flies drift through known trout habitats. This includes riffles leading into pools, the head and tail-outs of pools, and any structure that offers trout cover and a feeding lane. In swift water, you'll need more weight to get your nymphs down quickly. In slower, shallower runs, less weight and a longer dropper line might be more effective. If you’re not getting bites, adjust your indicator depth or add/remove split shot. Understanding Washington River Trout Limit is also important, so you know what you can legally keep and what needs to go back.
Remember, trout can be incredibly selective, so even subtle changes in drift or depth can make a difference. If you're finding success on a particular stretch, pay attention to the exact depth and speed of your drift.
Stillwater Applications
Dropper rigs aren’t just for rivers; they can be incredibly effective in Washington's many lakes and ponds. Here, the challenge shifts from combating current to covering water and mimicking the slower, often suspended, movements of aquatic insects.
- Fan Casting and Depth: In lakes, trout can be found at various depths, from cruising the shallows to holding deep near structure. Use a fan-casting technique to cover a wide area, casting in different directions from your position. Vary your retrieve speed and count down your rig to estimate depth. If you’re using a dry-dropper, cast it out and let it sit, or impart a very slow retrieve to mimic a struggling insect.
- Retrieve Styles for Nymphs and Streamers: For nymph-dropper or streamer-dropper rigs in lakes, a slow, methodical retrieve often works best. Try a "strip-strip-pause" retrieve, allowing the flies to sink slightly during the pause, mimicking a swimming or rising insect. Sometimes, just a very slow, continuous hand-twist retrieve is all it takes. If you’re fishing suspended trout, a balanced leech pattern on your dropper can be deadly.
- Structure and Drop-offs: Focus your efforts around submerged structure, weed lines, drop-offs, and points. These areas concentrate baitfish and insects, which in turn attract trout. For example, Best Washington Lakes for Trout Fishing often feature varied bottom contours where trout congregate. A heavier nymph on the point and a lighter one trailing can allow you to effectively explore these depth changes.
Using a float tube or kayak can give you access to more productive water in lakes, allowing you to position yourself precisely over structure or cruising lanes. Pay attention to any signs of feeding activity, like rising fish, and adapt your flies and depth accordingly.
Adapting to Conditions
The most successful anglers are those who can quickly adapt their dropper rig to the ever-changing conditions on the water.
- Water Clarity: In clear water, trout are more wary. Use finer tippet (e.g., 6x or 7x) and more natural, drab fly patterns. Fluorocarbon leaders are particularly advantageous here due to their low visibility. In stained or off-color water, you can often get away with heavier tippet (4x or 5x) and brighter, more visible flies that stand out. Larger flies might also be more effective in murky conditions.
- Depth and Current: As mentioned, adjusting your split shot and indicator depth is paramount. If you're constantly snagging the bottom, you likely have too much weight or your indicator is set too deep. If your flies aren't getting down, add more weight. For fast currents, use a heavier anchor fly and more split shot to punch through the water column. In slower water, lighter weights and a longer leader can allow for a more subtle presentation. This kind of nuanced adjustment is key to success, whether you are Dry Fly Fishing Washington's Rivers or using subsurface techniques.
- Insect Activity (Matching the Hatch): Always be observant of what the trout are eating. Look for insects hatching, flying around, or even turning over rocks in the streambed to see what nymphs are present. If you see tiny midges, tie on small midge patterns. If larger stoneflies are crawling on the banks, include a stonefly nymph. The beauty of the dropper rig is you can fish multiple stages of an insect's life cycle simultaneously – for example, a caddis adult on top and a caddis pupa nymph below. This "duo" approach dramatically increases your chances of fooling a selective trout. Don't forget to check a Washington Fishing Seasons: A Month-by-Month Guide to get an idea of typical hatches and fish behavior.
By continually adjusting your rig and technique based on what the water and fish are telling you, you’ll not only catch more trout but also deepen your understanding and appreciation for Washington’s incredible fishing opportunities. It's all part of the continuous learning curve that makes fishing such a rewarding pursuit. Remember, before heading out on any fishing adventure, it's always smart to review What to Check Before Every Washington Fishing Trip to ensure you're prepared and compliant with local regulations.
Disclaimer
The information provided in this guide is for general informational purposes only and is not intended as legal or professional advice. Fishing regulations in Washington State are subject to frequent changes. Always consult the most current Washington Department of Fish and Wildlife (WDFW) regulations pamphlet or their official website before heading out to fish. Adherence to all local, state, and federal fishing laws and safety guidelines is the sole responsibility of the angler.