Nymphing for Trout on Washington’s Yakima River
The Yakima River in Washington is a true gem for trout anglers, but getting those finicky fish to bite, especially when they're not looking up for dry flies, can feel like trying to solve a complex puzzle. Many of us have spent hours casting, feeling like we're doing everything right, only to be met with frustrating silence from beneath the surface. This guide is here to unravel the mysteries of nymphing, giving you the practical strategies and detailed insights you need to consistently connect with the Yakima's wild trout.
Understanding the Yakima River's Trout and Habitat
Before you even think about tying on a fly, truly understanding the Yakima River itself and the trout that call it home is absolutely essential. It's not just a body of water; it's a living, breathing ecosystem with specific nuances that dictate where fish live and what they eat. You can have the best gear in the world, but without this foundational knowledge, you're just casting blind.
Resident Trout Species in the Yakima
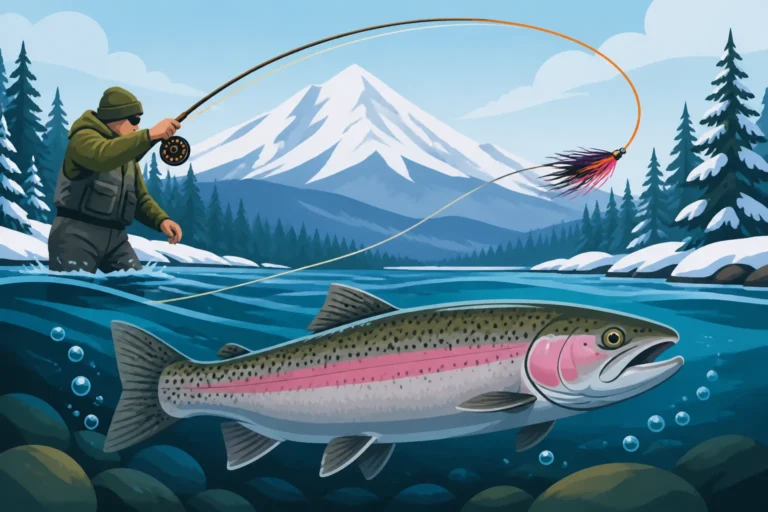
When you're out on the Yakima, you're primarily targeting two incredible species: rainbow trout and Westslope cutthroat trout. Both are wild, native fish that thrive in the river's dynamic environment. Rainbows are known for their vibrant colors and acrobatic fights, often found in faster currents and riffles where they can ambush nymphs drifting downstream. They're opportunistic feeders and will key in on a wide variety of subsurface insects.
Westslope cutthroat trout, on the other hand, often prefer slightly slower, more protected waters, though you'll find them alongside rainbows in many areas. They have that distinctive red "cut" mark under their jaw and are often a bit more cautious than rainbows. Sometimes you'll encounter a hybrid known as a "cut-bow," a cross between the two, combining characteristics of both. While less common, you might also hear whispers of bull trout, a protected species that lives in the colder, upper reaches of the system and its tributaries. It's vital to know how to identify these fish, as bull trout are strictly catch-and-release, and keeping one can lead to serious penalties. Always remember that the Yakima is primarily a wild trout fishery, so careful handling and quick release are paramount for the health of the population.
Key River Sections for Nymphing
The Yakima River stretches for a long way, and its character changes dramatically from its headwaters to where it meets the Columbia. For nymphing, understanding these different sections can make all the difference in your approach.
The Upper Yakima, roughly from Lake Easton down to the Teanaway River confluence, is often characterized by colder water, more confined canyons, and a steeper gradient. Here, you'll find faster riffles, deeper runs, and plenty of pocket water behind boulders. This section is excellent for high-stick nymphing or Euro nymphing techniques, allowing you to get your flies down quickly in turbulent flows. The trout in this area are generally aggressive and will readily take well-presented nymphs. Access can be a bit trickier, often requiring some wading or floating.
The Middle Yakima, from the Teanaway down through the canyon sections near Thorp and Ellensburg, offers a mix of faster water and broader, more meandering sections. You'll find long, gravelly runs perfect for indicator nymphing, deeper pools that hold larger fish, and complex current seams where slower water meets faster flows. This section sees significant angling pressure but also holds a very healthy population of trout. It's often where you'll spend most of your time, navigating both public and private access points. Floating this section in a drift boat or raft is a popular and effective way to cover a lot of water.
The Lower Yakima, below the main canyon near Canyon River Ranch and further downstream, starts to warm up, especially in summer. While still holding trout, especially rainbow trout, this section is also home to warm-water species like smallmouth bass. Nymphing here means adapting to slower, deeper flows in places, but also still seeking out those classic trout holding lies in riffles and runs. This area can be particularly good in the cooler months, as trout will be more concentrated in ideal water temperatures. Each section requires a slightly different approach, both in terms of flies and presentation, so don't be afraid to experiment as you move along the river.
Reading the Water for Nymphing
Being able to "read the water" is arguably the most crucial skill for any angler, especially when nymphing. Trout are lazy creatures by nature; they want to expend the least amount of energy for the most amount of food. This means they're usually found in specific lies where food drifts to them, or where they can hold comfortably out of the main current.
Look for riffles, those choppy, broken surfaces where the water flows over shallow, rocky bottoms. Riffles are insect factories, and trout will often position themselves just at the tail-out of a riffle or behind larger rocks within it, picking off nymphs dislodged by the current. Runs are deeper, smoother sections of flowing water, often below a riffle or in a long, consistent stretch. Trout will hold along the bottom, in depressions, or along seam lines in these runs. Focus on the darker patches, which often indicate deeper water.
Pools are slower, deeper areas, usually found at bends in the river or below significant drops. While less productive for nymphing than riffles or runs, the heads and tails of pools can be excellent, especially if there's a good current seam. The real gold is often found in current seams, where fast water meets slow water. This is where trout can sit comfortably in the slower current, waiting for food to drift by in the faster lane. Look for color changes, foam lines, or even subtle differences in the water's surface. Understanding where fish are likely to hold will drastically increase your chances of putting a nymph right in front of them. It's a skill that takes time to develop, but paying attention to the river's contours and flows will accelerate your learning curve.
Essential Nymphing Gear and Setup for the Yakima
Fishing the Yakima, especially with nymphs, isn't about having the most expensive gear, but about having the right gear that's appropriately matched to the conditions and techniques you'll be using. A well-balanced setup will make your day on the water much more enjoyable and, crucially, more successful.
Rod and Reel Selection
For general-purpose nymphing on the Yakima, a 9 to 10-foot, 4- or 5-weight fly rod is a fantastic starting point. The extra length, especially on a 10-foot rod, gives you several distinct advantages. It helps with line control, allowing for longer, more precise mends to achieve drag-free drifts, and makes it easier to keep your line off the water when performing techniques like Euro nymphing. A medium-fast to fast action rod will give you the backbone to cast weighted rigs and manage larger trout in current, while still offering enough sensitivity to feel subtle takes.
Your reel doesn't need to be a high-tech marvel with an expensive drag system, as you'll be fighting most trout on the rod itself, not the reel. A reliable, mid-arbor reel that balances your rod and holds your fly line plus adequate backing is perfectly sufficient. Durability is key, as river fishing can be tough on gear. While not strictly necessary, some anglers find a lightweight, larger arbor reel beneficial for quick line retrieval, especially if you plan on trying different techniques like dry fly fishing on the same outing (you can find solid options on Amazon for a reasonable price). Remember, the focus is on casting and line control, so choose a rod that feels comfortable and responsive in your hand.
Line and Leader Configurations
The type of line and leader you choose will depend heavily on your preferred nymphing method. For indicator nymphing, a standard weight-forward floating fly line matched to your rod weight is ideal. This line is designed to cast well and float high, making it easy to mend and track your strike indicator. Your leader for this setup will typically be 9 to 12 feet, tapered, and you'll usually add a section of fluorocarbon tippet (often 3X to 5X, depending on water clarity and fly size) below it. Fluorocarbon is excellent for nymphing because it sinks faster than monofilament and is nearly invisible underwater.
If you're delving into Euro nymphing (also known as "tight-line nymphing" or "contact nymphing"), your line and leader system will look quite different. Many Euro nymphing specific lines are incredibly thin and designed for minimal sag, or some anglers even use a thick monofilament running line. The leader itself is the critical component: it's often a very long, specialized leader, sometimes 15-25 feet, constructed with a sighter (a multi-colored section) at the top to detect strikes. This leader tapers down to a fine tippet section (5X-7X) where your nymphs are tied. The goal here is direct contact with your flies, minimizing the fly line on the water. For a deep dive into different leader setups, our guide on Fly Fishing Washington's Rivers and Lakes offers additional insights. Experimentation is key to finding what works best for your style and the conditions you encounter.
Terminal Tackle Essentials
Terminal tackle might seem like a small detail, but it's where the rubber meets the road (or rather, where the fly meets the fish). First up: tippet. As mentioned, fluorocarbon is king for nymphing due to its low visibility and fast sink rate. Carry spools of 3X, 4X, 5X, and even 6X for those extremely clear, low-water conditions. You'll be surprised how often a slight change in tippet diameter can make a difference.
Next, split shot is indispensable. You need to get your flies to the fish's depth, and sometimes nymphs just aren't heavy enough on their own. Carry a variety of non-toxic split shot sizes, from tiny micro-shot to heavier BB or even larger sizes. Crimp them carefully above your knot to avoid damaging your tippet.
Strike indicators are your eyes to the subsurface world for indicator nymphing. There are many styles: buoyant foam indicators (like Air-Lock or Thingamabobber), yarn indicators, or even putty indicators. Choose one that's easy to see, floats well, and doesn't impede your cast too much. The Air-Lock indicators are popular for their adjustable depth settings. If you’re Euro nymphing, your sighter leader essentially acts as your indicator.
Finally, don't forget forceps or hemostats for removing hooks, nippers for trimming line, and a small net with a rubberized basket to protect the fish. Having a well-stocked fly box with a variety of nymphs (which we'll cover soon!) is, of course, a given. You can often find great multi-packs of essential terminal tackle on Amazon, which can be a convenient way to build your kit.
| Gear Category | Recommended Item | Why It's Important |
|---|---|---|
| Rod | 9-10 ft, 4-5 weight, medium-fast action | Extra length for line control and mending; power for weighted rigs; sensitivity for strikes. |
| Reel | Mid-arbor, balanced with rod, reliable drag | Holds line and backing; fighting fish primarily on rod, not reel. |
| Fly Line | Weight-forward floating (for indicator nymphing) | Aids in casting weighted flies; floats high for easy mending and indicator tracking. |
| Leader | Tapered 9-12 ft (indicator) or specialized long sighter (Euro) | Transfers casting energy; low visibility to fish; strike detection. |
| Tippet | Fluorocarbon (3X, 4X, 5X, 6X spools) | Sinks fast, nearly invisible underwater; crucial for stealth and depth. |
| Split Shot | Assorted non-toxic sizes | Gets flies to the fish's feeding depth quickly and efficiently. |
| Strike Indicator | Foam, yarn, or putty (for indicator nymphing) | Your visual cue for subtle subsurface strikes. |
| Nippers | Small, sharp clippers | Essential for trimming leader and tippet cleanly. |
| Forceps/Hemostats | Locking pliers with fine tips | Safely removing hooks from fish without excessive handling. |
| Net | Rubberized, knotless mesh | Protects fish slime coat; makes landing and releasing fish safer and easier. |
Mastering Nymphing Techniques on the Yakima
Nymphing isn't a single technique; it's a family of approaches, each with its own strengths and ideal situations. To truly unlock the Yakima's potential, you'll want to have a few of these tools in your angler's toolbox. The key across all of them is achieving a natural, drag-free drift.
Indicator Nymphing: Your Visual Guide
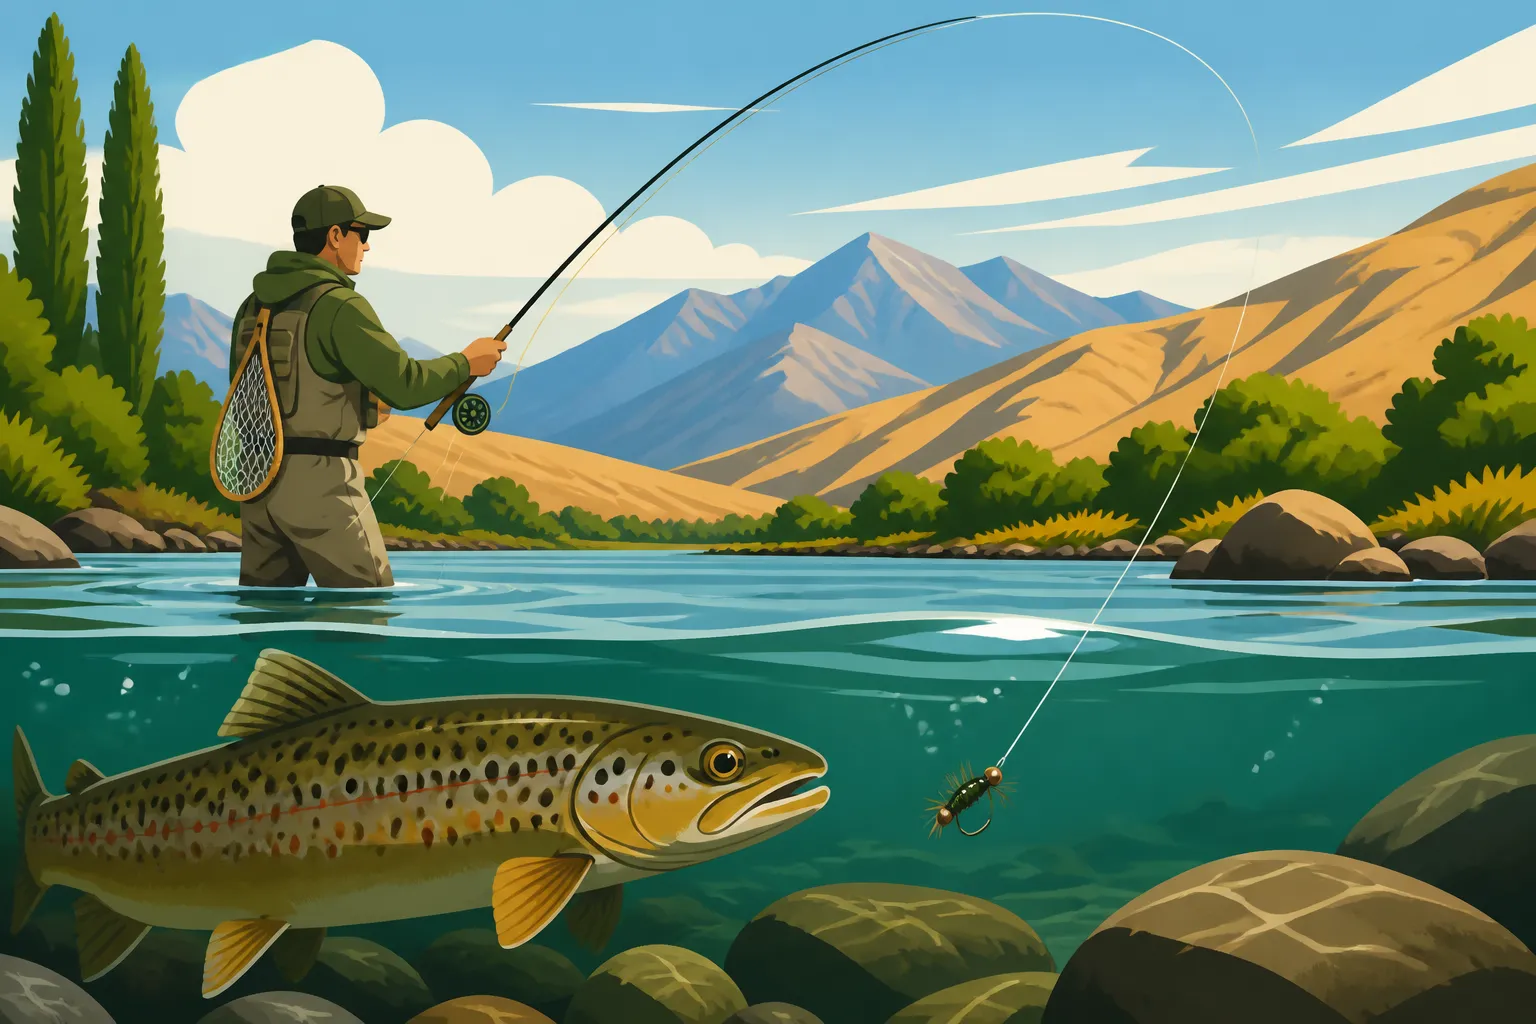
Indicator nymphing is probably the most common and often the easiest technique for beginners to learn, and it's incredibly effective on the Yakima. The basic idea is to suspend your nymphs beneath a buoyant strike indicator that floats on the surface. The indicator serves two main purposes: it holds your flies at a consistent depth, and it acts as your visual cue for a strike. Any twitch, stop, or subtle movement of that indicator signals a take.
To set up, you'll attach your indicator to your leader, usually 1.5 to 2 times the depth of the water you're fishing above your first fly. Then, tie on your first nymph (your "point fly"), and off that, tie a shorter tag of tippet (8-18 inches) to your second nymph (your "dropper fly"). Adjust your split shot strategically, usually a foot or so above your point fly, to ensure your nymphs are ticking the bottom without constantly snagging. Casting an indicator rig effectively requires a bit of practice due to the weight, but a simple roll cast or a wide, open loop cast works well. The critical part is then mending your line. Mending involves repositioning your fly line upstream during the drift to keep the indicator and flies moving at the same speed as the current, preventing unnatural drag. Think of it like steering your indicator downriver. A drag-free drift is paramount; any unnatural tug on the indicator will make your flies behave unnaturally, and the trout will refuse them. When the indicator hesitates, moves sideways, or dips under, set the hook! Even if it's just a snag, you learn more by setting the hook than by waiting.
Euro Nymphing: Feeling the Take
Euro nymphing is a more advanced, highly effective technique that has revolutionized trout fishing. Instead of relying on a floating indicator, you use a long, specialized leader with a brightly colored "sighter" section, maintaining direct contact with your nymphs at all times. This method excels in faster, turbulent water where indicators would get pulled around, and it offers incredible sensitivity to detect even the subtlest takes. For more on advanced methods like this, our guide on Techniques & Seasons: Fly Fishing Techniques for Winter Steelhead in Washington delves into similar tight-line approaches.
The setup usually involves a longer, lighter rod (10-11 feet, 2-4 weight is common), a thin Euro nymphing line or just a monofilament running line, and then a long, tapered leader that includes the sighter. You'll typically fish two heavily weighted nymphs, often a heavier "anchor" fly and a lighter "dropper" fly, tied in tandem. The key to Euro nymphing is keeping your rod tip high and your leader as straight as possible to your flies, almost directly beneath your rod tip. You "lead" the flies downstream, feeling for any tick, stop, or unusual pressure. Your sighter acts as a visual aid, but many strikes are felt directly as a subtle tug or resistance. It's a very active, hands-on style of fishing that allows for precise depth control and phenomenal strike detection, especially in challenging conditions on rivers like the Yakima. It takes practice to distinguish between a fish and the bottom, but the rewards are huge.
High-Sticking and Short-Leash Nymphing
These techniques are cousins to Euro nymphing and are fantastic for pocket water, faster riffles, and situations where you need to get your flies down fast and keep them under precise control. High-sticking basically means holding your rod tip high, keeping as much fly line off the water as possible, and guiding your nymphs through a short drift. You're effectively shortening your leader and keeping constant tension, allowing you to feel strikes and make quick, short drifts through small holding lies.
Short-leash nymphing is similar but often involves an even shorter leader, sometimes only a few feet long, with a heavier fly. It's perfect for quickly probing deep pockets or the seams around boulders where fish might be holding tight to the bottom. With both of these methods, the casting is often more of a lob or a roll cast to present the flies gently upstream of your target. The goal is pinpoint accuracy and immediate depth. You're not looking for long drifts; you're focusing on shorter, more controlled presentations in specific spots. These techniques require you to be physically close to the water, often wading carefully upstream, making sure you don't spook the fish in the immediate area. It's a great approach for those fast, turbulent sections of the Yakima where a long, indicator rig would be impractical.
Top Nymph Patterns for Yakima River Trout
Matching the hatch is a cornerstone of fly fishing, and nymphing is no exception. While some patterns are year-round producers, knowing what specific insects are active can give you a significant edge. The Yakima is home to a rich diversity of aquatic insects, so having a varied fly box is crucial.
Year-Round Nymphing Staples
There are certain nymphs that just consistently produce on the Yakima, regardless of the season or specific hatch. These are your confidence flies, the ones you always have in your box and often start with.
Stonefly Nymphs: Large, bulky, and nutrient-rich, stoneflies are a major food source for Yakima trout. Patterns like the Pat's Rubber Leg (especially in black/brown or tan/brown, sizes 6-12) or various Prince Nymphs are absolute must-haves. Stoneflies are found year-round and are excellent "anchor" flies due to their weight, helping to get your entire rig down to depth. Trout will often key in on these large meals, especially when they're dislodged from the riverbed during higher flows.
Caddis Nymphs: Caddisflies are incredibly abundant in the Yakima. Look for patterns like the Tungsten Caddis Larva (olive, brown, black, sizes 12-16) or the Peeking Caddis. These flies imitate the free-living and cased caddis larvae that drift in the current. Trout are very accustomed to seeing these, making them reliable choices.
Mayfly Nymphs: Smaller and more delicate, mayfly nymphs are a constant presence. The Pheasant Tail Nymph and the Hare's Ear Nymph (sizes 14-18) are universal patterns that imitate a wide range of mayfly species. These are often excellent dropper flies, fished behind a heavier stonefly. Having these year-round staples in various sizes and weights will ensure you always have something the trout are willing to eat. Our article on Yakima River Fly Fishing for Wild Trout in Washington provides more context on the general hatches and best practices.
Seasonal Hatch Matching with Nymphs
While the staples work consistently, paying attention to seasonal hatches and offering nymphs that imitate them can lead to incredible days on the water.
Skwala Stoneflies (Late Winter/Early Spring): This is one of the most anticipated hatches on the Yakima. While often associated with large dry flies, the Skwala Nymph (large, dark brown, sizes 6-10) fished deep is incredibly effective before the adults start showing up. Trout are actively looking for these big bugs moving to the bank to hatch.
March Brown Mayflies (Spring): As spring progresses, you'll see March Browns. Nymph patterns like a Dark Olive Hare's Ear or a March Brown Nymph (sizes 12-14) can be deadly.
Pale Morning Dun (PMD) Mayflies (Summer): PMDs are a classic summer hatch. A Light Pheasant Tail Nymph or a Barr's Emerger (sizes 14-18) are great choices when these smaller mayflies are active.
October Caddis (Fall): Another large, important insect. Similar to the Skwala, the October Caddis Nymph (orange/brown, sizes 8-12) is a fantastic pre-hatch offering, often fished heavy.
BWO (Blue-Winged Olive) Mayflies (Spring and Fall): These tiny mayflies hatch in cooler weather. Small Baetis Nymphs or Flashback Pheasant Tails (sizes 18-22) can be crucial, especially on overcast days. By knowing the general timeline of these major hatches, you can stock your box with the appropriate nymph patterns and significantly increase your chances of success. A quick check of local fly shop reports or online forums can often give you the most up-to-date information on what's currently hatching on the Yakima.
Adjusting Nymph Size and Weight
This might be the most critical, yet overlooked, aspect of successful nymphing. It's not just about the pattern; it's about getting that pattern to the right depth and having it drift naturally.
Depth is everything: If your nymphs aren't getting down to where the fish are holding (usually within inches of the bottom), you won't catch anything. This means adjusting the weight of your flies (tungsten-beadhead flies are great for this) and adding split shot as necessary. In faster, deeper water, you'll need more weight. In slower, shallower runs, you'll need less. A good rule of thumb is that your flies should be occasionally ticking the bottom, but not constantly snagging. If you're snagging every other cast, you're probably too heavy or your leader is too long for the depth.
Size matters: Pay attention to the general size of the insects in the river. If you turn over a few rocks, you can often get a visual cue. During a specific hatch, match the size of the natural insect as closely as possible. If there's no obvious hatch, start with a larger "attractor" pattern (like a stonefly) and a smaller, more imitative "dropper" (like a Pheasant Tail). If fish are being picky, try downsizing your flies and your tippet (going from 4X to 5X can sometimes be the magic bullet).
Water conditions: In clear, low water, fish are warier, so smaller flies, lighter tippet, and more subtle patterns are often required. When the water is a bit off-color or higher, larger, darker, and more prominent flies can be more effective as they offer a bigger profile and are easier for fish to see. Remember, the fish are in there; it's your job to present them with a meal they can't refuse at the right depth. Our guide on How Water Clarity Affects Steelhead Fishing offers relevant principles that apply to trout as well.
Yakima River Nymphing Strategies for Success
Alright, you've got the gear, you understand the water and the bugs. Now it's time to put it all into action. These strategies will help you convert knowledge into fish in the net.
Approaching the Water and Wading Safely
One of the biggest mistakes anglers make, especially on smaller to medium-sized rivers like the Yakima, is spooking the fish before they even make a cast. Trout are incredibly aware of their surroundings, and heavy footsteps, sudden movements, or a shadow cast over the water can send them scattering for cover.
Always approach the riverbank slowly and stealthily. If possible, stay low and out of sight, using streamside vegetation or uneven terrain for cover. Before you step into the water, take a moment to scan the immediate area for fish. You'd be surprised how often you'll spot a trout holding close to the bank. When you start wading, move deliberately and quietly. Shuffle your feet rather than stomping, and avoid kicking up too much gravel, which can create turbidity and alert fish downstream. Wading upstream is often preferable, as you're moving into the current, minimizing the amount of disturbed water that drifts over fish you haven't yet cast to. Remember to prioritize safety; the Yakima can have strong currents and slippery rocks. A wading staff is not just for old-timers; it's an invaluable tool for stability and probing unknown depths.
Presentation and Drift Control
This is the holy grail of nymphing: achieving a perfect, drag-free drift. No matter how perfect your fly pattern or how precisely weighted your rig, if it's dragging unnaturally, fish will refuse it almost every time. Think of your nymph rig as a natural insect tumbling downstream – it moves at the speed of the current, without any pulling or slowing.
For indicator nymphing, this means constantly monitoring your indicator and making timely, subtle mends. Your fly line creates drag, especially the part closest to you, so you lift your rod tip and reposition the line upstream, essentially feeding slack into the drift without moving the indicator itself. In complex currents, this can involve multiple mends during a single drift. The goal is for the indicator to move smoothly and predictably, as if it's just another piece of debris floating along.
For Euro nymphing, drift control is achieved by leading your flies with your rod tip. You're trying to keep that sighter leader as straight as possible, just barely off the water, moving your rod tip at the same speed as the current. This maintains direct contact and allows your flies to plumb the depths naturally. It's a dance between your body, the rod, and the current. Practice makes perfect, and observing your indicator or sighter intently will teach you volumes about how your flies are behaving beneath the surface. For additional tips on river etiquette and minimizing your impact, check out Catch-and-Release Rules During Wild Steelhead Closures, as the same principles apply here.
Troubleshooting Common Nymphing Problems
Even the most experienced anglers run into snags (literally!) and frustrating moments when nymphing. Knowing how to diagnose and fix common problems on the fly can save your day.
Problem 1: Not getting to depth. You're fishing a run that looks perfect, but your indicator is cruising too fast, or you're simply not feeling any ticks on the bottom.
- Solution: Add more split shot. Don't be shy! Move up a size or two, or add another piece. Also, check your leader length; if the water is deeper, increase the distance between your indicator and your flies. You can also switch to a heavier, tungsten-beadhead point fly.
Problem 2: Constant snagging. You're ticking the bottom, alright – you're snagging every other cast!
- Solution: You're probably too heavy. Remove some split shot or switch to lighter flies. Shorten your leader slightly, or move your indicator closer to your flies. You might also be fishing too slow of water for your current weight, or your drift isn't clean enough.
Problem 3: Missing strikes or not feeling anything. Your indicator twitches, you set the hook, and nothing's there. Or you just feel nothing.
- Solution: First, check for drag. If your flies aren't drifting naturally, fish will "sample" them but spit them out quickly. Work on your mends. Second, sharpen your hooks. Dull hooks miss fish. Third, try a more sensitive indicator or sighter, or shorten your leader to your indicator to improve detection. Sometimes, fish are taking very subtly, especially in clear water. Consider downsizing your tippet to 5X or 6X, or your flies to a smaller size, if conditions are tough. Lastly, ensure you're setting the hook with authority, a quick upward or sideways motion, to bury the hook. Our article on What to Check Before Every Washington Fishing Trip reminds us of the importance of these small but critical adjustments.
Problem 4: Fish are spooked. You're seeing fish dart away or noticing them ignoring your flies entirely.
- Solution: Re-evaluate your approach. Are you wading too heavy? Are you casting your shadow over the fish? Are your flies too large or your tippet too thick for the conditions? Move stealthily, switch to smaller flies and finer tippet, and try a longer, more delicate presentation. Sometimes, resting a spot for 15-20 minutes and re-approaching from a different angle can make a huge difference.
Conservation and Etiquette on the Yakima
The Yakima River is a precious resource, offering incredible wild trout fishing opportunities. It's up to every angler to do their part to protect it for future generations. Good conservation practices and respectful etiquette aren't just polite; they're essential.
Catch and Release Best Practices
The Yakima River is primarily a catch-and-release fishery for its wild trout, and adhering to proper handling techniques is vital for the survival of the fish. These beautiful creatures deserve our utmost respect and care.
When you land a fish, try to keep it in the water as much as possible. If you must lift it for a quick photo, do so quickly and support its body horizontally, never vertically by the jaw or tail alone. Wet your hands thoroughly before touching the fish to protect its delicate slime coat, which is its primary defense against disease. Remove the hook gently and quickly using forceps or hemostats. If the fish is deeply hooked, especially in the gills or gut, it's often best to simply cut the line as close to the hook as possible. The hook will usually rust out over time, and attempting to remove it can cause more damage. Our guide on Reading the Washington Sport Fishing Regulations Pamphlet will always emphasize the importance of understanding and following specific rules, which often include catch-and-release only for certain species or river sections. Before releasing, hold the fish gently facing into the current until it regains its strength and swims away on its own. Never just toss a tired fish back into the current; allow it time to recover.
Respecting Other Anglers and the Environment
Part of being a responsible angler on the Yakima, or any shared natural space, is showing respect for both your fellow enthusiasts and the environment itself.
Give Space: The Yakima can get busy, especially during prime seasons. Always give other anglers plenty of space – a good rule of thumb is to give them at least 100 yards upstream or downstream, or more if possible. If you're floating, try not to motor or row directly through someone's fishing drift. If you need to pass, do so quietly and on the opposite side of the river from where they're fishing. A friendly wave or nod can go a long way in fostering good relations on the water.
Pack It In, Pack It Out: This is non-negotiable. Whatever you bring to the river, take it home with you. This includes all trash, broken leader material, old fly wrappers, and especially discarded fishing line, which can be deadly to wildlife. Let's keep the Yakima pristine for everyone. Our article on What a Bait Ban Actually Restricts in Washington highlights how certain regulations aim to protect the aquatic environment, and our personal actions should mirror that intent.
Respect Private Property: Much of the land bordering the Yakima is private. Always know where you're legally allowed to access the river. Don't trespass, and if you're using a public access point, park responsibly and don't block gates or driveways.
By practicing thoughtful catch-and-release, giving fellow anglers room, and leaving no trace, we ensure that the Yakima River remains a world-class trout fishery for all to enjoy.
Disclaimer
Fishing conditions and regulations in Washington can change rapidly due to emergency rule changes or seasonal shifts. Always consult the official Washington Department of Fish and Wildlife (WDFW) regulations before heading out. This guide is for informational purposes only and does not supersede state fishing laws.